What’s stopping you from launching an online course?
Maybe you don’t have the right tech to create a high-production value course.
But I’m here to tell you that you don’t need expensive software and tech to create a course your students will love.
In this article, we’ll show you how to create top-notch courses without spending a dime on extra gear. Build your course from the ground up with these tried and tested techniques.
Build a solid structure for your course
The secret to a successful course isn’t how much money has been spent developing it.
What makes a course successful is the students learning what was intended. And the best way to achieve that is through organizing your content into short practical steps.
Break your course down into bitesize moments, otherwise known as microlearning. Microlearning means delivering information in 5–7 minute chunks — it’s been proven to increase retention rates and make engagement rates soar to 90%.
In other words, an effective course should be a series of short videos rather than one long one.
And no, they don’t require big production values. Khan Academy’s handwritten videos are highly successful with online students. This is because they show how to achieve XYZ as clearly and quickly as possible.

In their case, handwriting formulas is the best way to explain them. In your case, it could make sense to use MS Paint doodles.
The point is, your course doesn’t need to look sophisticated and fancy to be effective.
But you do need to be thoughtful, and that needs to start in your outline.
Step 1: Build a high-quality course outline
A successful course should have a clear learning outcome. For example, “how to build a chair” or “design a webinar series”.
One course = one outcome.
Start with your learning objective (“how to launch a podcast”) and then work out the steps they’ll need to get there. Each step should be bite-sized (e.g., “find guests on social media”) and explainable in 5–7 minutes or less.
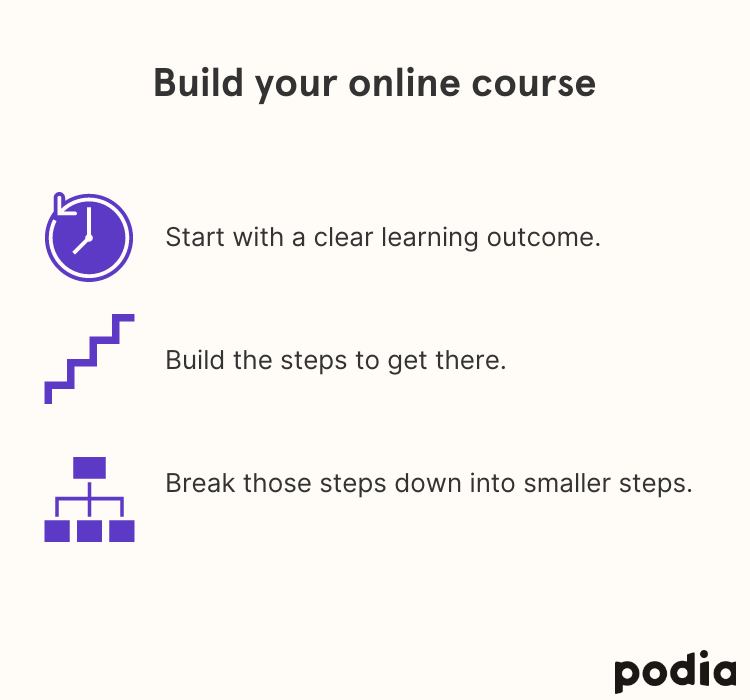
Because each action should be straightforward, it’s a good idea to create modules made up of smaller steps. It’ll look something like this.
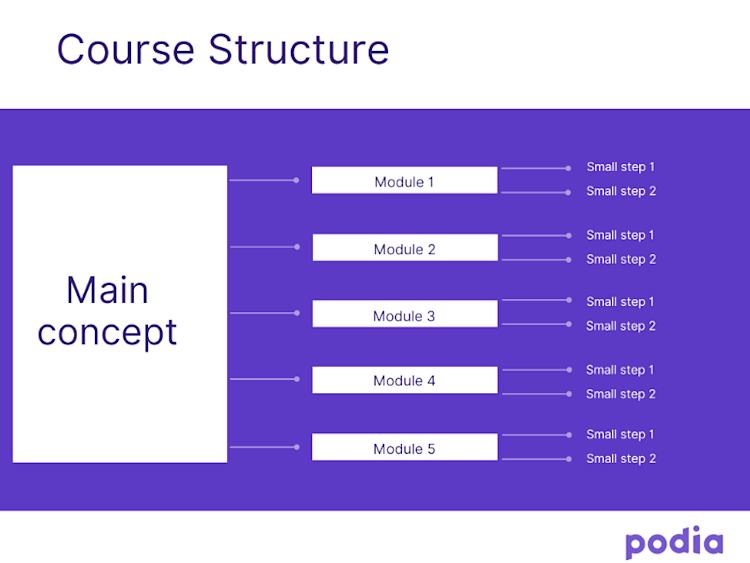
For example, if your course is on hosting poetry slams during the pandemic, you might have a module on promoting the slam. That module might then include smaller steps like using Facebook or posting on discussion boards, etc.
One way of thinking about your syllabus is in terms of time. Pretty Presets & Actions structures their Lightroom 101 over four weeks, with each module representing a week.

You might find it helpful to create a similar structure. It’s an appealing one for students, too, as it gives them an idea of the time commitment.
You can also base your modules around themes. Lindsay Page’s New Hire Toolkit course structure is: welcome, strategy, recruiting, and onboarding.
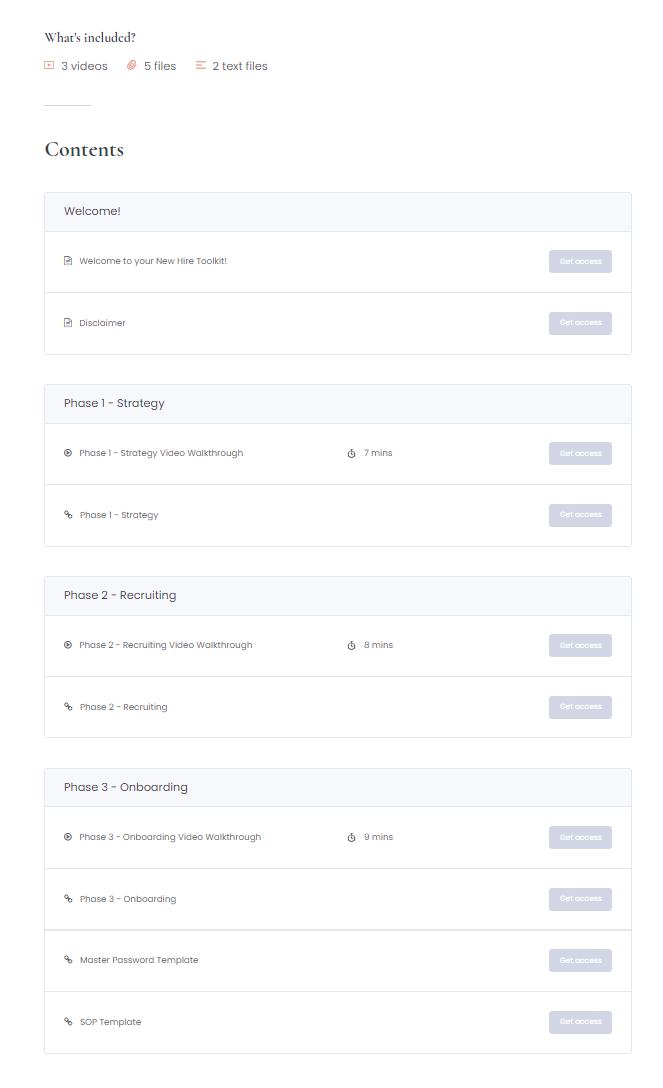
It’s a transparent course design and makes the learning outcomes clear. This makes it easy for students to jump in where they need to and use the course in a way that makes sense to them.
Your structure will vary depending on your course outcome, but you can experiment with your design so long as the progression is clear.
Our next step also mixes things up, but this time in terms of multimedia.
Step 2: Use a variety of content types
Video tends to be a significant part of online course content, but it doesn’t have to be the only component.
Online education puts you at an advantage compared to traditional classrooms because you have multiple options for sharing information available to you.
There’s just one rule. The type of content you choose should be the best one to explain the step.
For example, Robert Joyner’s Complete Guide to Design & Composition predominantly uses video demos. But, in his composition basics module, he switches to text and images to illustrate his point better.
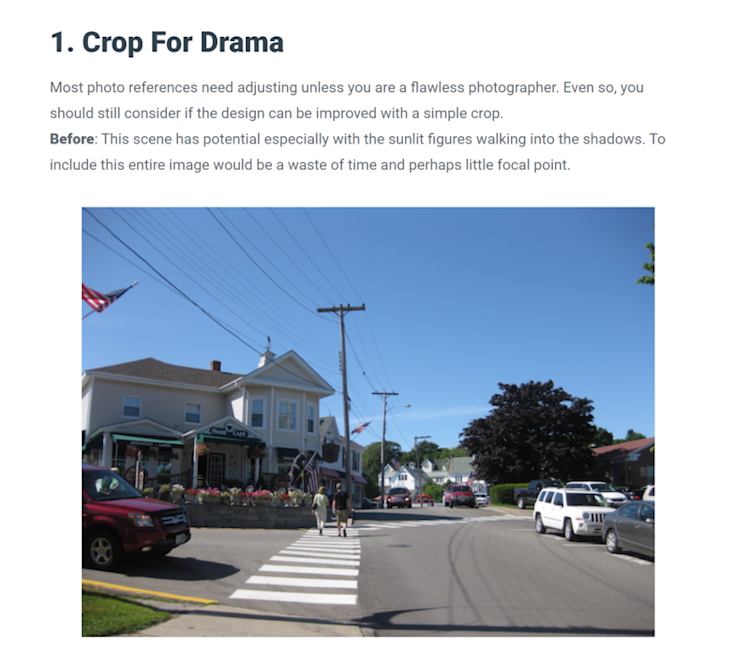
The advantage of this approach is you don’t have to sift through hours of footage to find what you need. The step is immediately actionable and understandable.
Meanwhile, These Are My Hours’ Postpartum Doula Certification supplements their videos with infographics and downloadable documents.
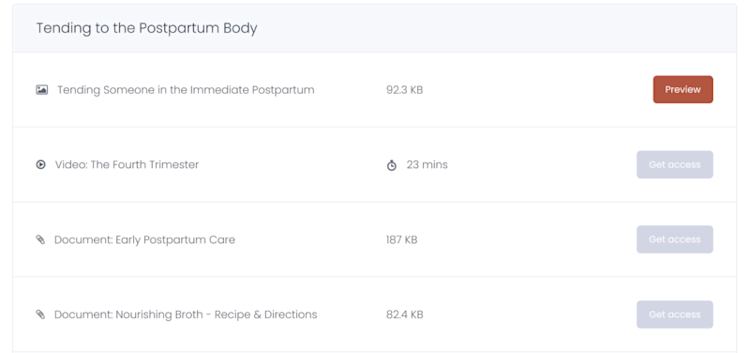
From a real-world standpoint, downloadables are practical for a doula to have with them when they are with a mother. Multimedia content gives your students more flexibility about when and where they can use your teachings.
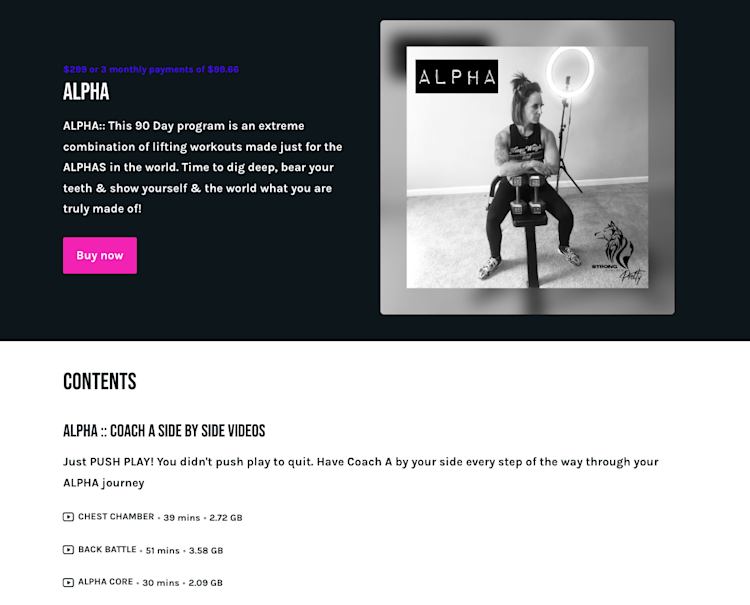
You could also take inspiration from Ashley Briggs, who organizes her Alpha course by type of content. The second module is all printable workouts, while other sections are pure video.
Takeaway:
Ultimately, there are no hard and fast rules for online learning. Focus on delivering one clear outcome for your students and break the path down into small steps.
And if you don’t want to use video, then you don’t have to use video. But if you do, you can make videos that are much less polished than you think.
Create an online course without gear
You don’t need a professional setup for online teaching. Your computer already has everything you need.
Screen recording and webcam filming are both completely valid ways of creating course content, and both options are possible on almost every computer.
If you’re worried either option diminishes the quality of the course, rest assured. Research found students loved screen recordings. It also improved the learning process.
If you are teaching tasks that involve computers, they’re also the simplest way to demonstrate. For example, Vicki Watson’s Inkscape Adventure — Learn Vector Graphics uses screen recordings to share detailed instructions.
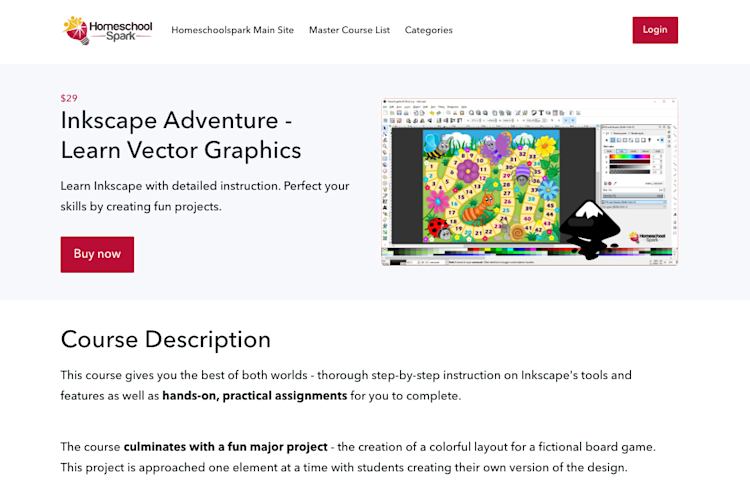
Her high school students can follow each action step-by-step and pause as required.
If screen recordings aren’t suitable for you, your second option is to use your computer’s webcam.
Even if your computer’s webcam isn’t top quality, you can still use it to create course material.
Inspire yourself from Craig Barton’s courses which use a mixture of presentation slides and a small webcam window. Having both side-by-side makes Craig more relatable as a teacher while sharing important information at the same time.
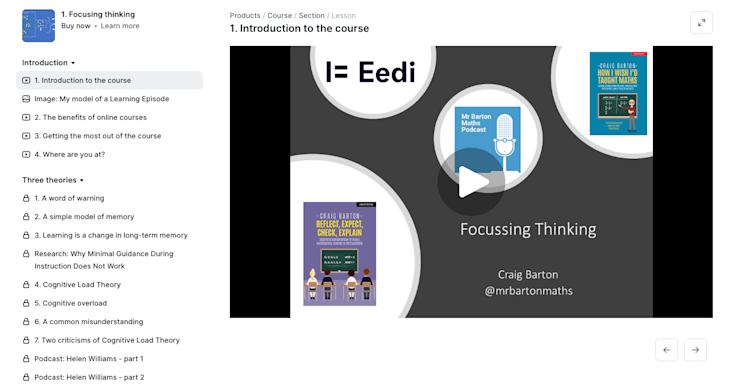
To create a similar look to Craig’s course, you just need presentation software (Google slides, PowerPoint, Keynote, etc.) and an in-browser recorder.
Best tools for recording and editing your course
It’s important to know most computers come with built-in software you can use to record and edit your course.
Depending on your computer model, your options may vary.
Alternatively, here are a few online screen recording and editing options to build your course. These are all free and don’t require any installation.
Loom is one of the best-known online screen recorders with webcam functionality.
It’s free to use for up to 100 videos as long as your videos are under five minutes long. The business plan is $8 a month (charged annually).
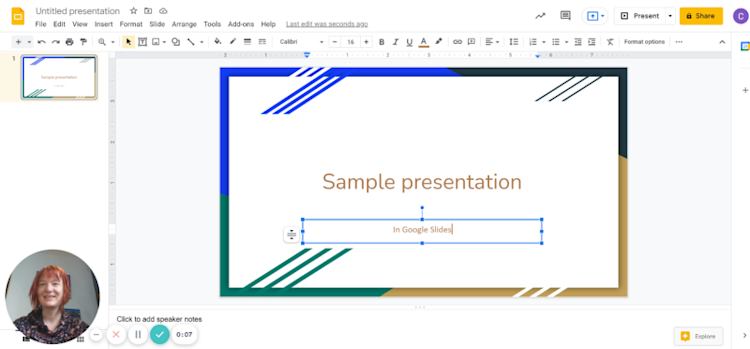
Use it to show and tell. Whether you’re sharing a presentation or demonstrating a task, Loom is great for adding your face and commentary to your lesson.
Vidyard is a webcam recorder. It includes some limited editing options (you can trim your video and choose its thumbnail).
It’s free to use for an unlimited number of videos, but if you want to download your videos, you’ll need to upgrade to Pro at $15 a month.
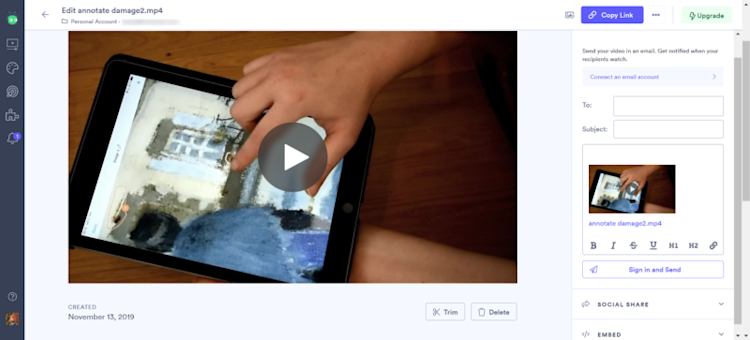
It’s the right option for you if you need to record and lightly edit webcam recordings. You can also use it to send personalized messages to your students, such as a welcome message or a well-done message.
Vimeo Record is a screen and webcam recorder. It’s a free Google Chrome extension that’s incredibly easy to use.
As the screenshot shows, you have several recording options: screen recording, webcam, or hybrid. Pick the one you need.
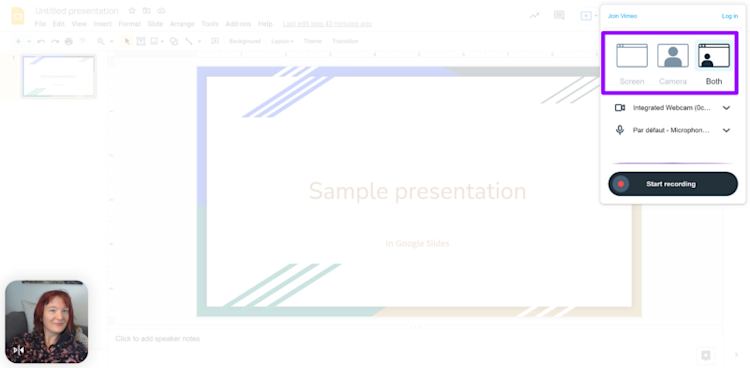
Use it if you need a versatile recorder to create a variety of videos. Vimeo can also host your videos and let you organize them by course or theme.
If you need a video editor but don’t want to struggle with an editor, you’ll love Kapwing.
Pick and choose the task you need to make your video a reality. For example, add audio or subtitles to your screen recording.
It’s also free, albeit with limitations (3 hours of videos a month). You can upgrade for $17 a month if paid annually.
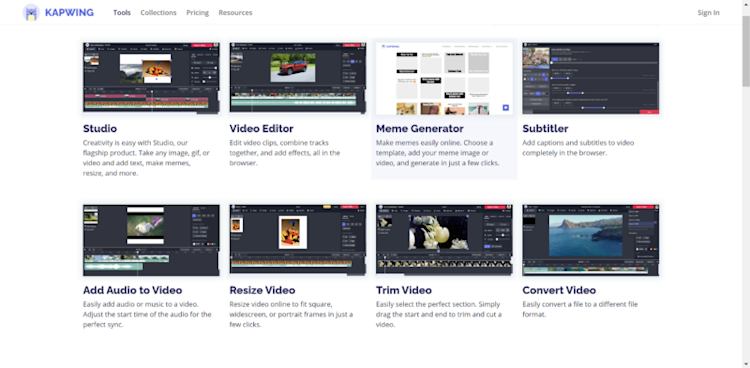
Kapwing is best used once you’ve already recorded your footage elsewhere.
Want more options? Head over here for tools to create online courses
With these free options, you can easily create and edit brilliant videos, but it’s not all about tools. This next tip will warm your audience up for your course.
Entice students with an email marketing campaign
You’ve got a brilliant course planned; it’s time to tell the world about it.
It’s not just about announcing your course is live and hoping for the best. You need to make your future students care about what you’ll be teaching them.
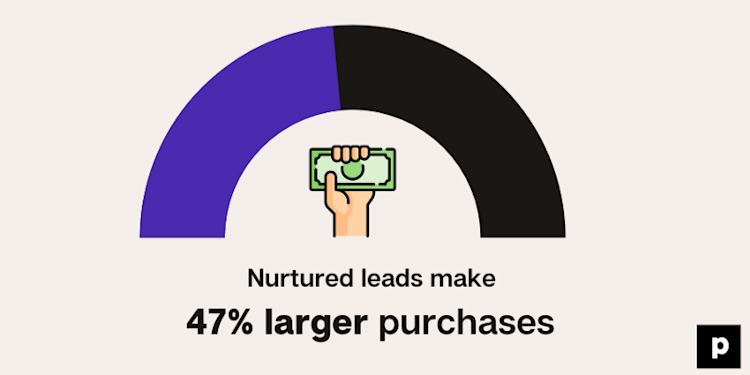
Nurtured leads make 47% larger purchases, and when it comes to distance learning, it’s more important than ever. They’re putting their faith in an educator they’ll probably never meet, so they need to feel like they know them.
To encourage enrollment, share nuggets of information, both about the course and your teaching style.
While your course content doesn’t need to be flashy, it doesn’t hurt for your promotional material to be beautiful. After all, it takes about 50 milliseconds for a visitor to make a first impression about your website.
The good news is that anyone can create gorgeous graphics without Photoshop and other software. For example, Justin Lee assembled extracts from his course material to create this simple but effective graphic.
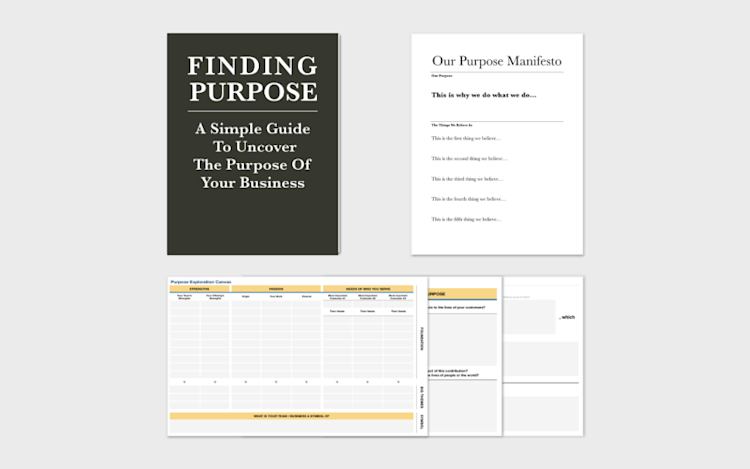
Once you’ve created supporting images, you can re-use them to promote your course on your landing page and social media.
But the best place to build an audience continues to be email marketing.
The advantage of an email list is it’s a much more personal relationship than social media. Your voice lands directly in their inbox and becomes something they can trust.
Step 1: Create an email campaign to launch the course
Before you start building an email list from scratch, you need to plan your email campaign.
The main goal here is to share the benefits of taking your course, as well as what outcome the student can expect. You can also give details like how many videos, worksheets, etc are included in your course, and if there are any discounts or sales available to subscribers.
All you have to do is add and schedule the emails in your email marketing platform.
With this sequence, you can get online learners excited about the launch.
If you need more ideas, check out our product launch email templates.
With your copy ready to go, now you need to build your email list.
Step 2: Capture emails
Your campaign is queued up and ready to go, but you need people to send it to.
One obvious move is to have a signup option on your landing page to capture emails, but you have to give visitors a reason to sign up. No one willingly signs up to get spammed; they want to know there’s going to be something in it for them.
Or, like Oh Joy! Academy, you could offer free lead magnets to encourage newsletter subscriptions.

Another option is to deliver plenty of free value on your landing page, which will endear you to your visitor. Epic J Creation’s landing page shares freebies, as well as access to his roadmap.

These all encourage interested parties to then sign up for his newsletter.
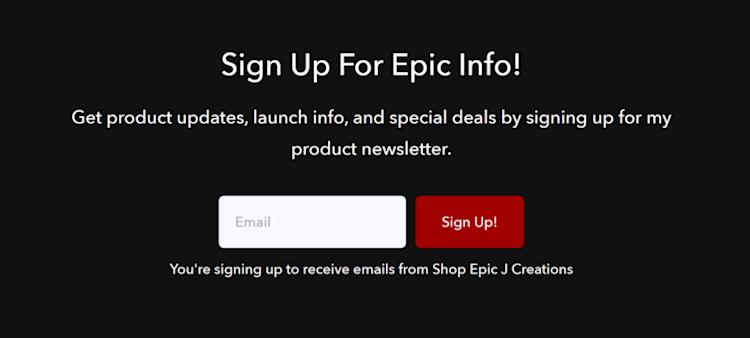
Long-term, you’ll want to think beyond your launch campaign and create a regular email newsletter to maximize student engagement.
Basically:
Email marketing is the most effective way to build an audience for your learning environment.
Design a strong campaign and build a list through email captures and lead magnets, and it won’t matter how rough-and-ready your online course videos are (or aren’t) — you’ll solve for engagement well before your students finish it.
Design a course that sells itself
Ultimately, the best way to judge a course is by student success and not high production values.
If your course is built on the right foundation with a clear learning outcome, it doesn’t need pyrotechnics.
In particular, remember these points:
-
Structure is everything — a good online course has a clear focus broken down into actionable steps.
-
Variety is king, and video isn’t the only path to create a robust online program.
-
You have more e-learning tools at your disposal than you think to record and edit videos. (Hot tip, they’re already on your computer.)
-
Building an email list is the best way to nurture current and future students.
Armed with these insights, nothing can stop you from creating a unique online environment that your students will blossom in.
And if you need a platform for selling your amazing online course, give Podia a try today. You can sell unlimited online courses, webinars, coaching sessions, and digital products, and Podia comes with your website, blog, and email marketing. Try Podia free for 30 days.

