You want to record videos for your online course, but you’re not sure where to start. Your mind is racing with questions:
- What kind of camera should I buy?
- Should I hire a professional videographer or editor?
- How am I supposed to budget for a camera and editing software before I start selling my online course?
If you’re feeling overwhelmed, we have some good news: You can start making videos with what you already have. You don’t need pricey gear or years of experience to create high-quality videos.
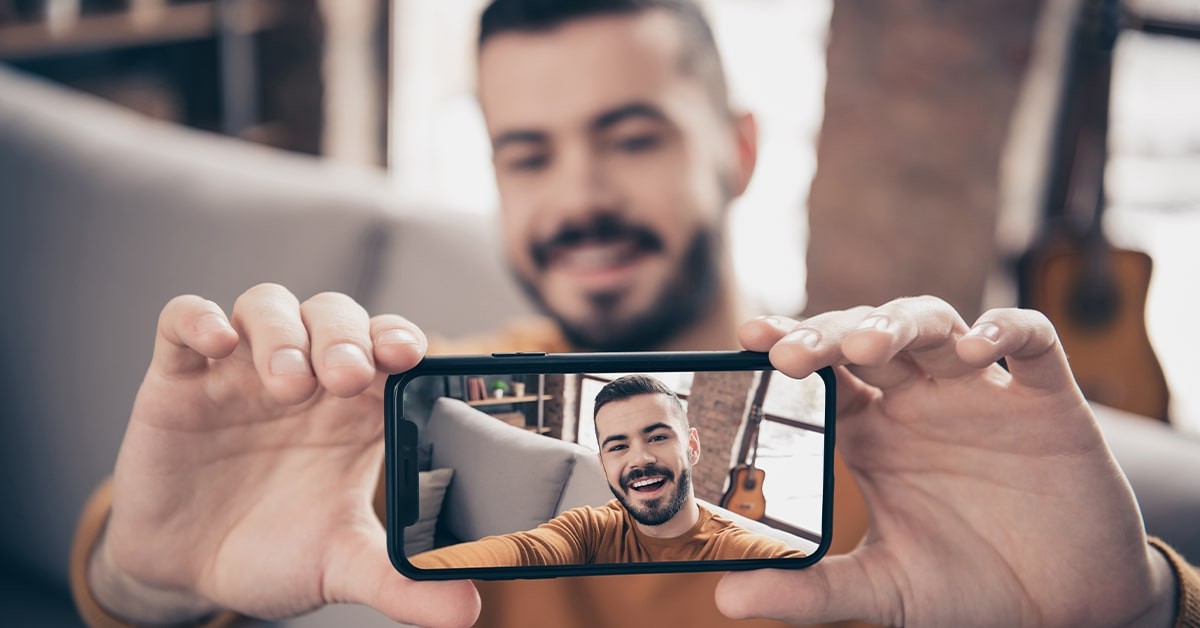
In fact, if you’re one of the one billion Apple iPhone users worldwide, you have everything you need in the palm of your hand.
Whether you’re creating online course content, building an audience on YouTube, or mastering the video marketing basics, you can capture professional-quality video footage with your iPhone.
In this guide, we’ll cover two types of video recording on the iPhone: live-action videos (with the camera app) and screen recordings.
Alright, let’s dive in with live-action videos.
How to record video with your iPhone camera
With every new release, the iPhone camera has improved, from the iPhone 6 to today’s iPhone 13 Pro Max. The latest iPhone is ranked as the best camera phone for photographers and video creators.
But if you don’t have the latest iOS device, don’t worry — you can still create high-quality videos on your iPhone.
Here’s how to record a video on your iPhone:
- Open your iPhone camera and choose Video mode.
- Tap the record button to start recording.
- While recording, you can pinch the screen to zoom in and out.
- Tap the red record button again to stop recording.
You can also record a video in Photo mode by holding down the shutter button at the bottom of the screen. Keep it held down or slide it to the right to lock it in video recording mode.
Your videos are automatically saved in your Photos library.
Pretty simple, right? The basic iPhone functionality makes videos look pretty good, but there are a few tricks you can use to make them even better.
Image stabilization
First, our resident video pro Ben Toalson recommends adjusting your camera settings.
By default, the iPhone records video at 30 frames per second (fps). Depending on your model, you can choose other frame rates and video resolution settings.
From your home screen, go into your iPhone Settings and tap “Camera”, then select “Record Video”.
The default frame rate and video quality are 1080 HD at 30 fps. Ben recommends selecting 4K at 24 fps. This setting lets you take advantage of the full resolution available, so your videos will look like they were filmed by a pro.
Next, it’s time to stabilize your shot. Unless you’re making a found-footage horror movie, nobody wants to watch a shaky video.
iPhone cameras feature some solid built-in image stabilization.
For example, optical image stabilization (OIS) is available on iPhone 6 Plus, iPhone 6s Plus, iPhone 7, and a few later models.
The newer iPhones (iPhone 12 Pro Max and later) include sensor-shift optical image stabilization, a more advanced stabilization feature that’s extra helpful for vlog-style videos where you might be walking around and filming what’s in front of you.
If you’re filming a talking head video, we recommend always using a tripod. Sure, you could find something to lean your camera against, but a tripod gives you the control and peace of mind to stabilize your shot at the best angle.
“Generally, you want to position your camera at eye level, and frame yourself in the center, from about mid-chest up, with your face in the upper half of the shot,” explains Ben.
A good tripod doesn’t have to cost an arm and a leg. There are plenty of affordable options for video recording and webinar gear on Amazon, like this UBeesize Extendable Tripod Stand ($19.19 at the time of writing) that comes with a Bluetooth remote.
Lighting and audio
In addition to a stable shot, your lighting setup plays a big role in making your video look professional. “The sensor in your camera is designed to capture light, so the better light we can give it, the better it’s able to do its job and give you a great image,” says Ben.
Low light can mean a grainy video. We recommend having a basic lighting setup so that you can shoot video whenever and wherever you need to.
The Neewer 18" Ring Light ($98.99, at time of writing) is a solid lighting option. Ring lights eliminate shadows by placing light all around your camera, rather than the light coming from just one direction.
And as a bonus, the Neewer ring light can work as a tripod, too. It comes with mounting adapters that let you attach your iPhone right in the center of the light.
For more lighting tips, check out this resource:
Finally, make sure your video has high-quality audio — especially if you’re explaining or teaching something in your recording.
You can get good audio quality without an expensive setup. Ben recommends using either an iPhone-compatible lavalier mic, like the Rode smartLav+, or Apple’s wired earpods, which offer a surprisingly excellent microphone.
Lavalier microphones clip right onto your shirt. This mic from Rode is a hands-free option for creators who move around a lot while teaching. Just clip on the mic and plug it into your smartphone’s headphone jack or an adapter.
Make sure to project your voice and speak clearly enough for the microphone to capture your audio. Also, try to eliminate as much background noise and echo as possible.
For more audio tips, check out this guide to the best microphones for online courses and webinars.
Camera apps
Last but not least, you can use camera apps to take your iPhone’s built-in camera to the next level.
Ben recommends ProCamera, an app that gives you in-depth control over your camera’s settings.
ProCamera is an affordable option for iPhone and Android users looking to manually adjust their camera’s focus, frame rate, resolution, white balance, exposure, and much more. The app is particularly excellent for shooting video in low-light conditions.
Another highly rated camera app is MoviePro. It offers manual controls and presets for nearly every camera setting, plus audio recording features like on-screen audio meters and Bluetooth microphone compatibility.

A third option is photography, video recording, and video editing app Focos Live. In addition to advanced camera settings, Focos includes editing features like text animations and a standalone audio editor.
Now, let’s move on to the second type of video you can record with your iPhone: Screen recordings.
How to screen record on your iPhone
If you want to show how an app works or teach someone how to do something on their iPhone, recording your iPhone screen can help make your tutorial easier to follow.
Screen recording is available on iPhones and iPads running iOS 13 and later. Here’s how it works:
First, you need to add screen recording to your phone’s Control Center. To customize controls, go to your iPhone Settings, then tap “Control Center”. Tap the green plus sign next to "Screen Recording" to add it to your Control Center.
Everything on your screen will be recorded, including your notifications. Turn your phone on Do Not Disturb mode to avoid notifications showing up in your screen recording.
When you’re ready to record your screen, open the Control Center on your iPhone, iPod touch, or iPad. On iPhones older than the iPhone X (iPhone 8 or older), swipe up from the bottom of the screen. On newer iPhones, swipe down from the top-right corner of the screen.
Tap the screen recording button (circular button), then wait for the three-second countdown to start recording.
You can also record audio during the screen recording by holding down the recording button, then tapping the microphone icon. Some apps, such as FaceTime, might not allow you to record audio.
To stop recording, open Control Center, then tap the red record button or the red status bar at the top of your screen and tap “Stop”.
To watch your recording, go to the Photos app, then select your screen recording. You can also trim the length of your recording in the Photos app.
Tap “Edit”, then move the sliders on either side of the video timeline to change the start and stop time.
To preview your trimmed video, tap the play button. Tap “Done”, then choose “Save Video” (saves only the trimmed version) or “Save Video as New Clip” (saves the trimmed version and the original).
Trimming video length is just one of many ways to edit your screen recordings and live-action videos on your iPhone — no pricey editing software required. Keep reading to learn more.
How to edit your videos and screen recordings
If you’re new to making video content, trying to edit using professional software can feel like trying to read complex computer code or an alien language.
Before you spend your time and money trying to figure out complicated editing software, check out iMovie. You don’t even have to export your video from your phone to your computer to edit. iMovie is available for free on iPhones, iPads, and Mac computers.
iMovie is as powerful as it is convenient. Features include:
- Video and audio editing
- Animated titles and credits
- Special effects like picture-in-picture and split-screen
- 10+ video filters
- 80+ smart soundtracks that adjust to your video’s length
- Green screen effects
It’s a solid choice for creators who want to edit from their iPhones without paying for a more advanced editing app.
To get started with iMovie, check out this step-by-step tutorial video:
If you’re looking for a more professional editing app, check out LumaFusion. LumaFusion is commonly used by filmmakers, video producers, and journalists to capture and edit video on the go.
While LumaFusion currently costs $29.99, it has more features and advanced options than iMovie. You get six video and audio tracks for photos, videos, and titles, as well as six additional audio tracks for voiceovers, music, and sound effects.
We won’t delve too much deeper into editing how-tos, but know that you can also outsource the task to a video editor if you have the budget.
If not, don’t worry. With a little practice, you can tackle editing on your own. Check out these six expert video editing tips you can learn in a weekend.
Once you record and edit your videos, you’re ready to upload them to your video host or online course platform.
Podia’s online course editor makes it easy to upload and publish video content in just a few clicks. You can also embed videos from YouTube, Dailymotion, or Vimeo on your Podia site or in your course content in just a few clicks.
Don’t just take my word for it — Get started with a free 30-day trial and see for yourself.
I have one more note before we wrap up.
If you find yourself struggling with perfectionism while creating videos, keep this in mind: Your recording setup doesn’t have to be perfect for you to create course content that your audience will love.
Research shows that production quality ranks behind perceived learning, delivery style, and even video length as reasons people like educational videos.
It may sound corny, but being yourself — sharing the info and ideas that you’re passionate about — is the most important part of creating great video content.
Ready for action? We’re standing by on your proverbial set, rooting you on.


